お知らせ
過去にQiitaに投稿した内容のアーカイブです。
自分用の構築メモです。
VirtualBox の設定
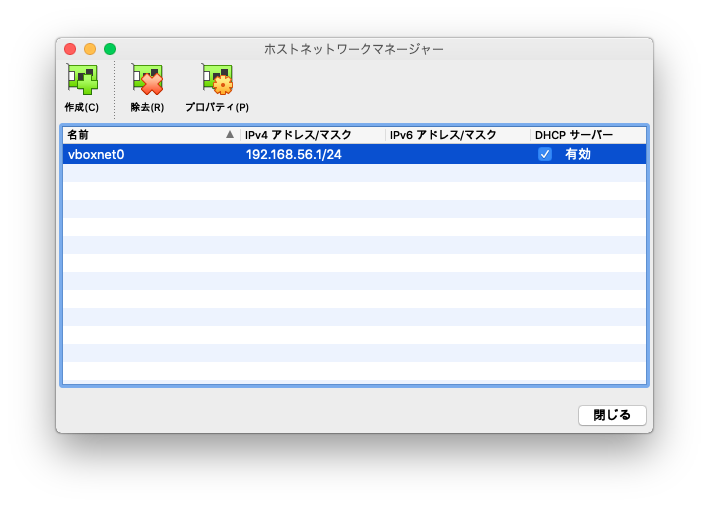
ホストネットワークマネージャーを作成する
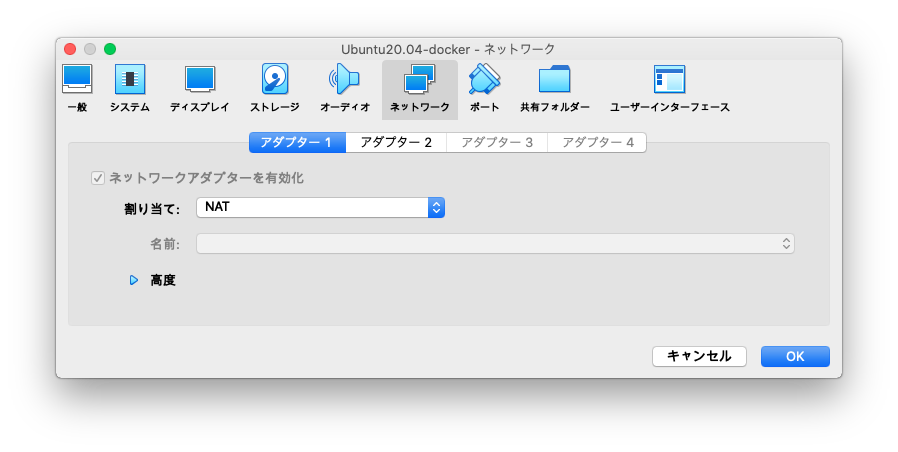
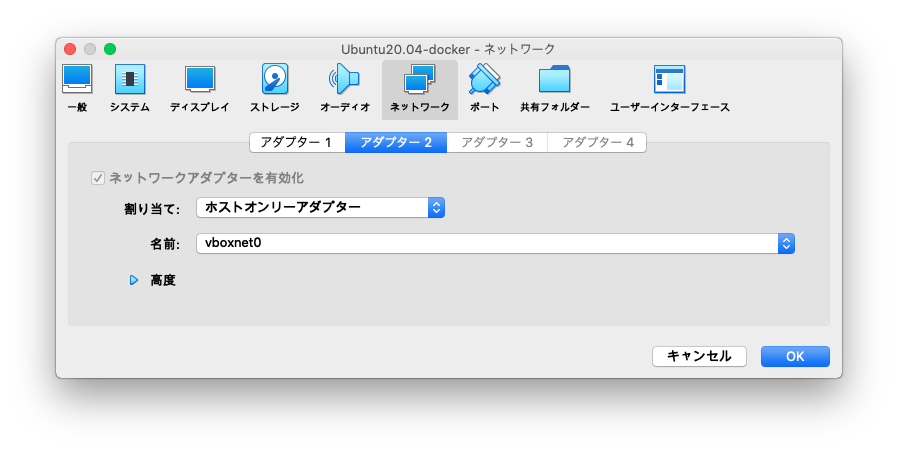
仮想マシンを作成する際にNICを
NATとホストオンリーアダプターの2つ設定する
Ubuntu Server 20.04をインストール
インストールが始まったら、NICを2つとも切断するとUpdateが失敗するのでインストールが早く終る
Ubuntuの設定
- SSHの設定
Ubuntu
sudo sed -i 's/#PubkeyAuthentication/PubkeyAuthentication/g' /etc/ssh/sshd_config
sudo sed -i 's/#AuthorizedKeysFile/AuthorizedKeysFile/g' /etc/ssh/sshd_config
sudo systemctl restart sshd.service

ssh-keygen -t rsa -b 4096 -C "moritalous"
cat ~/.ssh/id_rsa.pub >>  ~/.ssh/authorized_keys
- Dockerインストール
Ubuntu
curl -fsSL https://get.docker.com -o get-docker.sh && \
sudo sh ./get-docker.sh && \
sudo usermod -aG docker $USER
- VirtualBoxゲストツールインストール
Ubuntu
sudo apt update && \
sudo apt install -y virtualbox-guest-dkms virtualbox-guest-utils && \
sudo usermod -aG vboxsf $USER
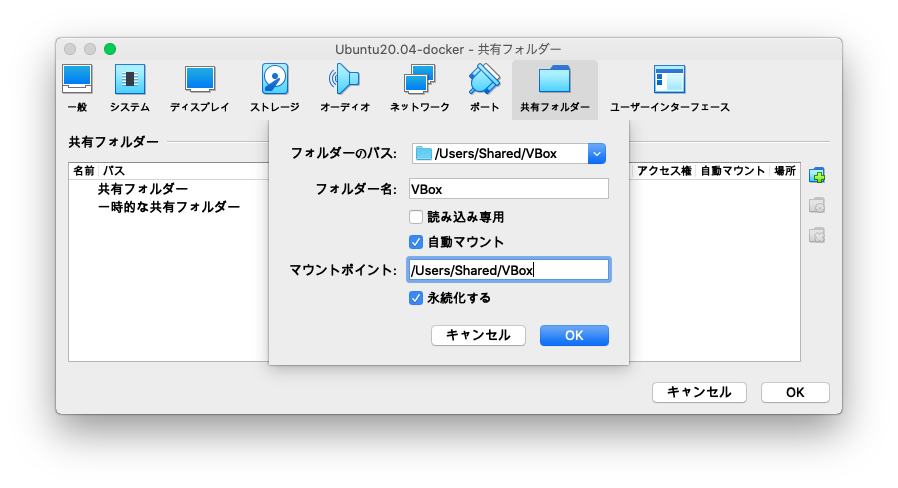
## macと同じパスで共有するため
sudo mkdir -p /Users/Shared/VBox
macの設定
- 鍵でSSHログインする設定
~/.ssh/config
Host Ubuntu-VirtualBox-Docker
  HostName xxx.xxx.xxx.xxx
  User ubuntu
  IdentityFile ~/.ssh/xxxxxxxxxx/id_rsa
- Docker Clientをインストール
mac
curl https://download.docker.com/mac/static/stable/x86_64/docker-20.10.9.tgz -o docker-20.10.9.tgz
tar xzvf docker-20.10.9.tgz
sudo xattr -rc docker
mkdir ~/bin
cp -rf docker/* ~/bin/
echo 'export PATH=$PATH:~/bin' >> ~/.zshrc

docker context create vbox --docker "host=ssh://ubuntu@Ubuntu-VirtualBox-Docker"
docker context use vbox
VSCodeの.devcontainerの設定
- workspaceFolderを追加
- workspaceMountを追加
- mountsを追加
- remoteUserを削除(rootで動くようにする)
.devcontainer
// For format details, see https://aka.ms/devcontainer.json. For config options, see the README at:
// https://github.com/microsoft/vscode-dev-containers/tree/v0.202.1/containers/ubuntu
{
    "name": "Ubuntu",
    "runArgs": ["--init"],
    "build": {
        "dockerfile": "Dockerfile",
        // Update 'VARIANT' to pick an Ubuntu version: hirsute, focal, bionic
        // Use hirsute or bionic on local arm64/Apple Silicon.
        "args": { "VARIANT": "focal" }
    },
// ここから追加
    "workspaceFolder": "/workspace",
    "workspaceMount": "source=workspace,target=/workspace,type=volume",

    "mounts": [
        "source=/Users/Shared/VBox,target=/workspace/VBox,type=bind,consistency=cached"
    ],
// ここまで追加
    // Set *default* container specific settings.json values on container create.
    "settings": {},


    // Add the IDs of extensions you want installed when the container is created.
    // "extensions": [],
    "extensions": []

    // Use 'forwardPorts' to make a list of ports inside the container available locally.
    // "forwardPorts": [],

    // Use 'postCreateCommand' to run commands after the container is created.
    // "postCreateCommand": "uname -a",

    // Comment out connect as root instead. More info: https://aka.ms/vscode-remote/containers/non-root.
// rootユーザーで動かす
    // "remoteUser": "vscode"
// rootユーザーで動かす
}
VirtualBoxの起動(コマンドラインでヘッドレス)
mac
VBoxManage startvm Ubuntu20.04-docker --type headless